Hi Alex,
thank you for getting back with more details.
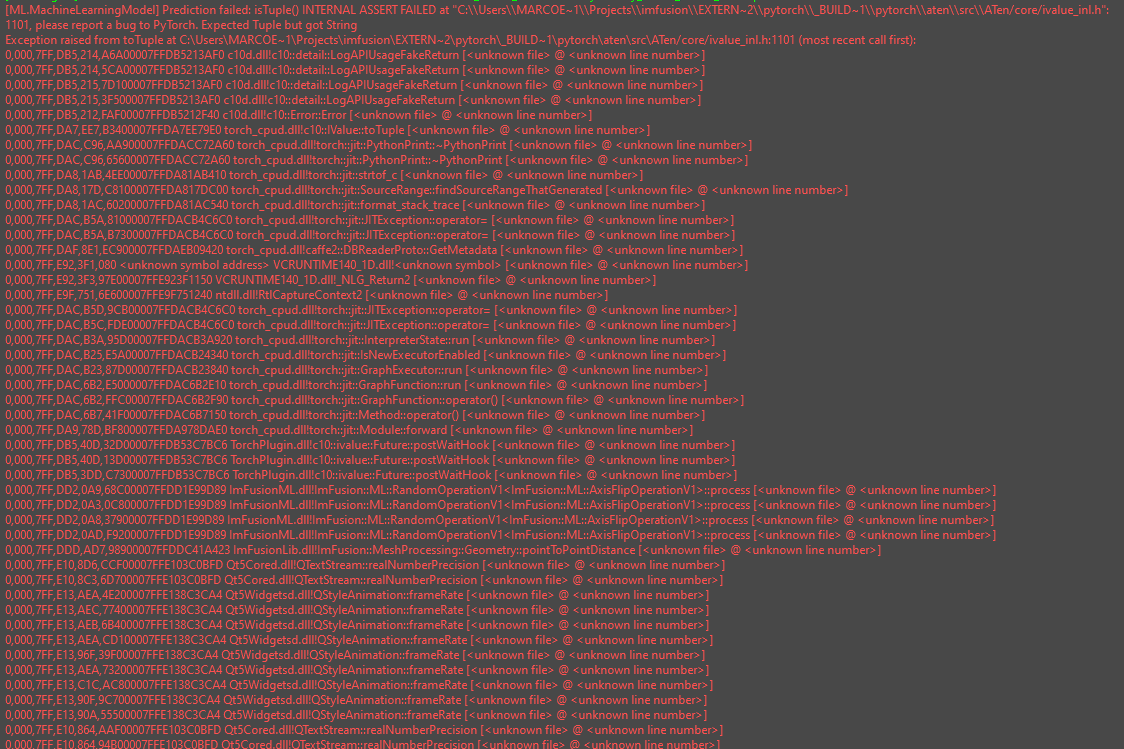
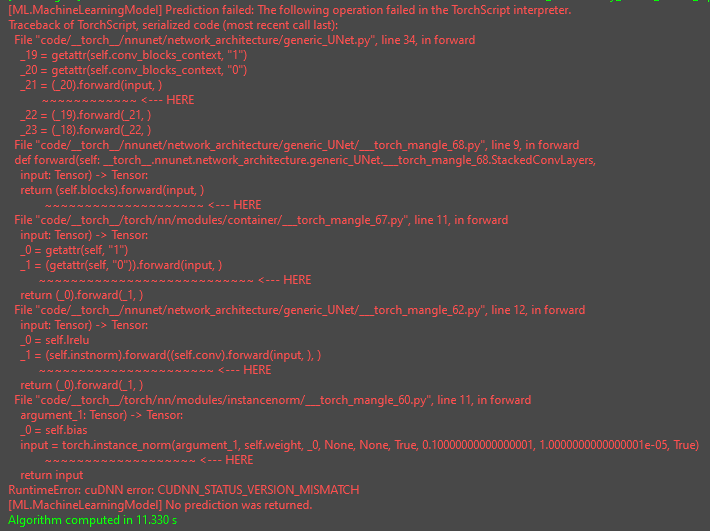
I tried your approach and I can reproduce your issue. The trouble comes from the fact that you probably traced the model with a torch version >= 1.10, which is in the requirements of the nnUnet package.
The ImFusionSuite however links against torch 1.8, so the actual problem is that the older version of torch which we use cannot correctly run a model traced with a newer one (quite understandably).
The good news is that downgrading to torch 1.8 doesn’t break nnUnet, or at least your export script, and with this version I was still able to trace the model in your script. You can downgrade to torch 1.8 with the command
pip install torch==1.8.1+cu111 torchvision==0.9.1+cu111 torchaudio==0.8.1 -f https://download.pytorch.org/whl/torch_stable.html
This solves your issue, and I’m able to run the model in the Suite.
For that however I needed to adapt the configuration file in a number of ways that I’m gonna list here below:
- The Kits19 dataset your model is trained on has some non trivial patient orientation matrix you need to apply, otherwise the resulting torch tensor would look rotated w.r.t. its world coordinate system. You can do that by adding
BakeTransformation to the list of preprocessing operation
- Secondly the network expects the data to be on an equally spaced grid. Thus, I resampled the input to the isotropic resolution 1mm, while the original data resolution is anisotropic along z (0.9 X, 0.9 Y, 0.5 Z).
- Even after resampling the data is quite large and the network was not fitting on my 4Gb VRAM of my laptop. You can subdivide your input image into patches of a given size by adding a
Sampling section to your configuration, see the example.
The trickiest part in your case was that the network is actually outputting a tuple of 5 tensors as predictions (you can check that by opening the traced model with netron for instance). Our default configuration expects a single-input single-output model, in your case however you have a single-input multiple-output model. We support that too, but the documentation for this is not there yet, so please have a look at the config file I put together and the comments therein.
Version: 4.0
Type: NeuralNetwork
Name: KidneySegmentationModel
Description: Segmentation of kidneys
Engine: torch # Could be also onnx
ModelFile: Kidney_traced_model_8.pt # Path to the actual model file (could be a onnx file)
ForceCPU: false # Set it to true if you want to perform the inference on the CPU instead of the GPU
Verbose: false # Print many info messages
MaxBatchSize: 1 # Maximum number of images to run through the network simulatenously
# The following section specifies the list of operations to apply to the input *before* it is feeded to the model
PreProcessing:
- BakeTransformation # applies the affine transformation of the input such that the results transformation is the identity
- Resample: # Resamples the input to the desired target resolution, if a scalar is given isotropic resolution is assumed
    resolution: 1.0
# In the multiple-output case, each output head type must be specified, this is mostly used for the UI
PredictionOutput: [Image, Image, Image, Image, Image]
#  In the multiple-output case, one must also specify the names of the output heads
# as specified by the model. When using a torch model returning a tuple of (unnamed) tensors,
# this has the unfortunate consequence that our software automatically "names"
# each entry in the output tuple Prediction0, Prediction1, ... . This is an implementation detail that unfortunately the user must know to setup the config (but he shouldn't be supposed to know). We are working on a solution for this issue.
EngineOutputFields: [Prediction0, Prediction1, Prediction2, Prediction3, Prediction4]
# In case of multiple outputs, the user must add the output field names above as intermediate layer for the naming. I did it only for the output we are interested in.
LabelNames:
  Prediction0: [Kidney, Tumor] # Names of the different labels encoded as channels of the output tensor, will be used by the UI
PostProcessing:
# Operations support an `apply_to` field which can be used to manually select on which elements each operation will be applied to. In the `Remove` op below, all the elements are removed apart from `Prediction0`
- Remove: # Remove the deep supervision heads which are not super interesting at inference
    apply_to: [Prediction1, Prediction2, Prediction3, Prediction4]
- Rename:
    source: [Prediction0]
    target: [Prediction]
- ArgMax: {}
- KeepLargestComponent # Keep the largest component of each individual label
# This section specifies the sampling strategy at runtime
Sampling:
- DimensionDivisor: 64 # Pads the image to the next multiple of this number, it is used to make sure that UNet downsampling and upsampling paths produce images of the same size
- MaxSizeSubdivision: 128 # Split the images in the smallest number of patches of size `MaxSizeSubdivision`
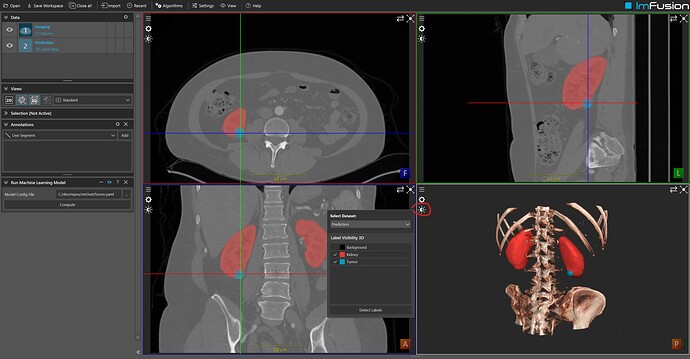
This is a screenshot of the results I’m retrieving on case 0000 of the Kips19 dataset:
Please note the label names (Kidney, Tumor) in the Display Options of the 3d View.
You can download the traced model, the configuration yaml and the input image at this link.
Let me know if that works for you.
Best,
Mattia


